Video Transcript:
Hello
everyone, it’s Dale here. Welcome to the new video from the Recent Trade
series. In this video, I’d like to talk about a trade I took earlier today. It
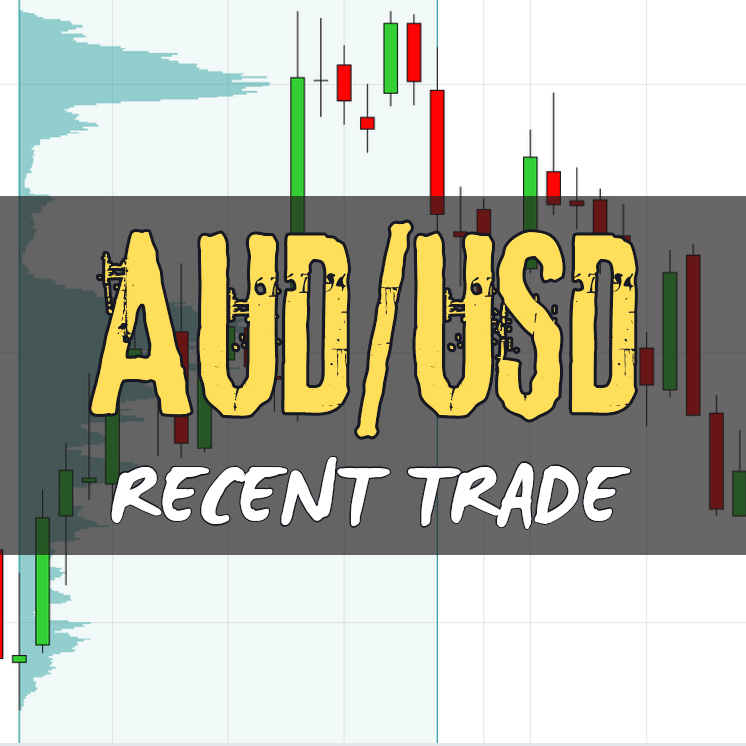
was on the AUD/USD, and I want to show you how the trade went—from the
reasoning behind the trade, through the stop-loss and take-profit placement,
and finally, the outcome of the trade. So let’s check it out, shall we?
What
you see on your screen is my TradingView profile, where I publish my
predictions—at least the public ones. Yesterday, I published this AUD/USD
prediction. As you can see, it was a public prediction that everybody could
access. I was predicting that this level would work as a support—right here at 0.6447.
This is the trade I want to talk about because it has already played out. This
is how the chart looks now. As you can see, the price reacted to that support.
Now,
I’ll switch to my NinjaTrader 8 platform, where I’ll walk you through the
trade. This is the same chart, only the platform is different. I prefer
NinjaTrader because it’s more advanced and it supports custom indicators like
my Volume Profile, Order Flow, and VWAP indicators. The coding for the
indicators is not as limited as it is on TradingView.
Anyway,
it’s the same chart here. The support level I showed you is this one. The
reasoning behind this trade involved a couple of things. When I trade, I prefer
to have multiple setups pointing to the same level. In this case, the main
setup—as always—is the Volume Profile setup. As you can see here, there was a
heavy volume zone that formed within this strong uptrend. This indicates that
buyers were active here, adding to long positions. So this was reason number
one: the Volume Profile setup. I call this the “trend setup.”
Another
setup that added strength to that support was a Price Action setup. This setup
showed that the price had previously reacted very strongly to this level, which
means it was a resistance level in the past. When the price broke above that
resistance, it turned into support. That support aligned with our Volume
Profile support.
On
top of that, there was one more setup from Smart Money Concepts: a Fair
Value Gap, right here. This is the Fair Value Gap, and I like to trade from
the beginning of it—which is right here. So, as you can see, three trading
setups aligned and pointed to this support level. When three trading setups
align like this, the support usually holds and becomes a strong one.
That’s
the reasoning behind the trade entry level. Now let me talk about the stop-loss
and take-profit placement.
Let’s
start with the stop-loss. I have two rules when placing a stop-loss. The first
rule is that it needs to be placed behind the heavy volume zone—the one the
trade was based on. The second rule is that it should be behind a swing point,
like this one. So the stop-loss was placed here—behind the heavy volume zone
and below the swing point. That’s why the stop was placed there.
Now
regarding the take-profit: I always want to take my profit before the price
reaches a strong barrier. In this case, the barrier was a heavy volume zone. I
wanted to exit the trade before the price hit that barrier, because it could
react to that zone and reverse—as it eventually did. So I placed my take-profit
at the beginning of the barrier, which was right here. That was my take-profit
level.
As
you can see, the price reacted nicely to the level, hit the barrier, overshot
it a bit, reacted to the weekly VWAP, and then went downward. But at that
point, I had already taken my profit.
So
that’s it for this trade. As I mentioned, it was a public prediction, so anyone
who saw it could have traded it with me. I hope you had a nice result with this
trade as well.
If
you’re interested in learning more about Volume Profile trading, head over to
my website—Trader-Dale.com. If you
click the button labeled “Trading
Course and Tools” it will take you to a page where you can browse my
trading education and custom-made indicators. If you scroll down a bit, there’s
also a Combo Pack that includes all the packs together at a discounted price,
so you can save big.
Thanks for watching the video. I hope you enjoyed it, and I’ll see you next time. Until then, happy trading!